
How to Send an Auto-Reply Email From a WordPress Form
Set up a WordPress form autoresponder that emails the visitor the moment they submit, with their answers included, a from name they recognize, the right reply-to address, and the wording that stops the follow-up emails.

A WordPress form autoresponder is the email the visitor gets the moment they submit, and it does one job: it answers “did you get it?” before they ask. So, if you are looking to send an auto-reply email from a WordPress form, with the visitor’s own answers included and a reply time they can hold you to, this guide can surely help.
I build Core Forms, and every screen here comes from its Auto-Responder action running on a test site.
One guide cannot write your reply for you, and the wording is the part that matters most. This one covers the setup, the fields the email needs, the variables that put the visitor’s answers into it, the deliverability decisions that keep it out of spam, and the 4 wordings I see cause the most follow-up emails.
There is nothing to download. Or, if you get stuck halfway, support is a message away. Without further ado, let’s get started.
Notification and Auto-Reply Are Different Emails
Before the clicks, the distinction, because the 2 emails get confused and then written badly:
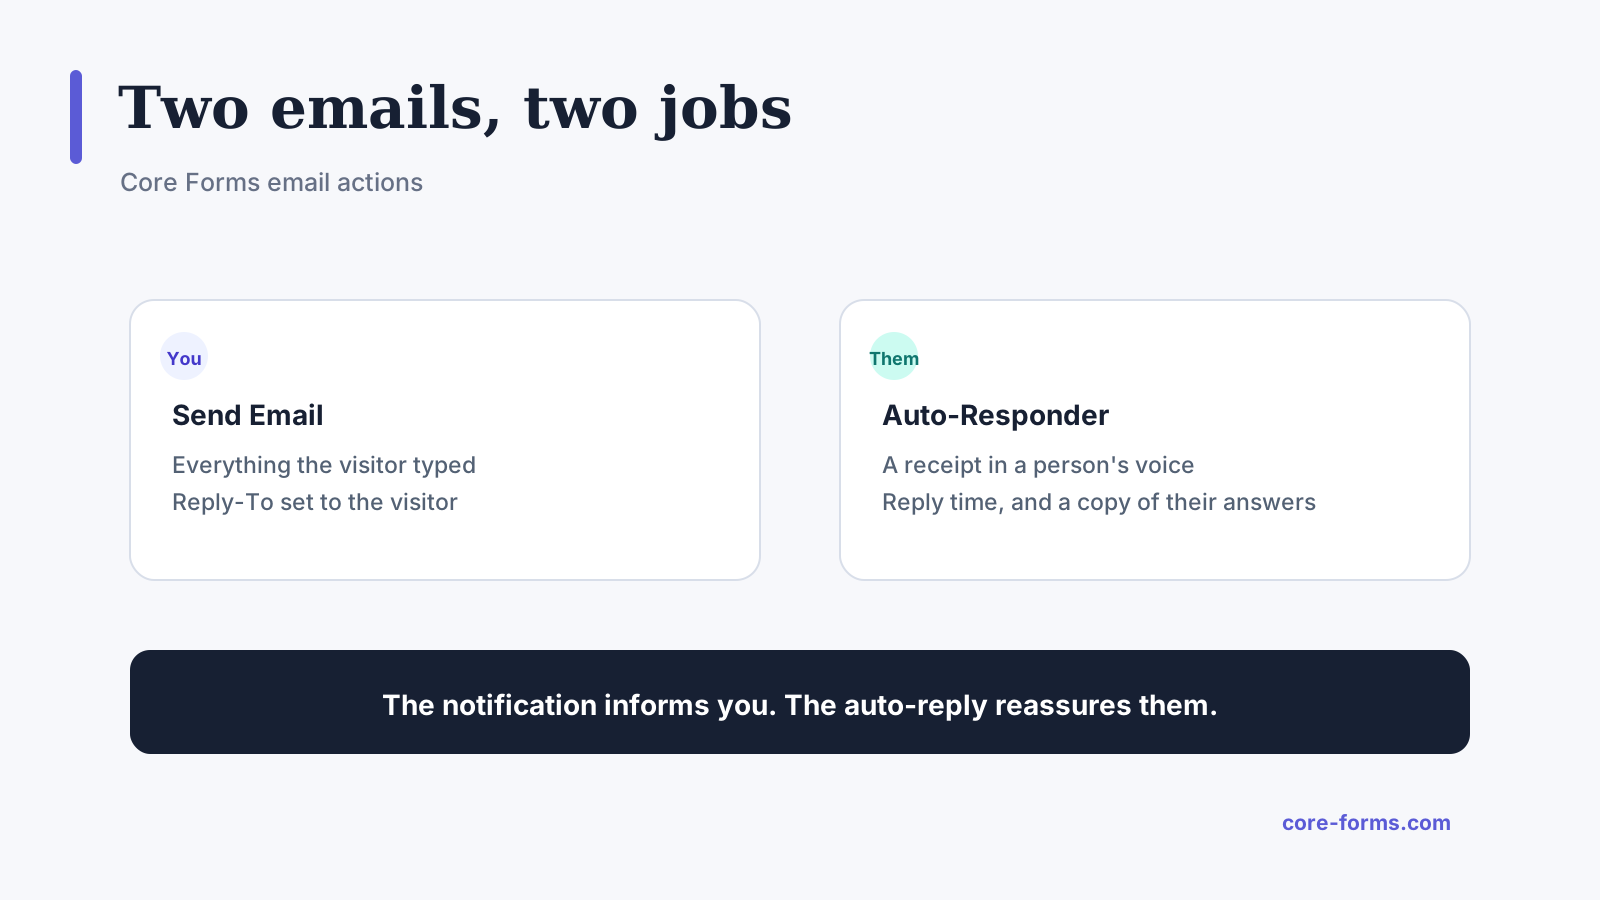 One goes to you, one goes to them, and they should not read the same.
- Send Email goes to you. It is the notification, with everything the visitor typed, and Reply-To set to the visitor so you can answer from your inbox.
- Auto-Responder goes to the visitor. It is the receipt, and it should sound like a person, say what happens next and carry a copy of what they sent.
Most templates ship with both already configured. The industry templates arrive with the auto-reply written, and the plain starters need it added, which is 5 steps below.
Add the Auto-Reply
- Open the form and click the Actions tab.
- Click Add Action and choose Auto-Responder.
- Set Recipient email field to the form’s email field,
EMAILon the templates. The action picks it up on its own when the form has one email field. - Fill in the From name, the Subject and the Message.
- Click Save Changes.
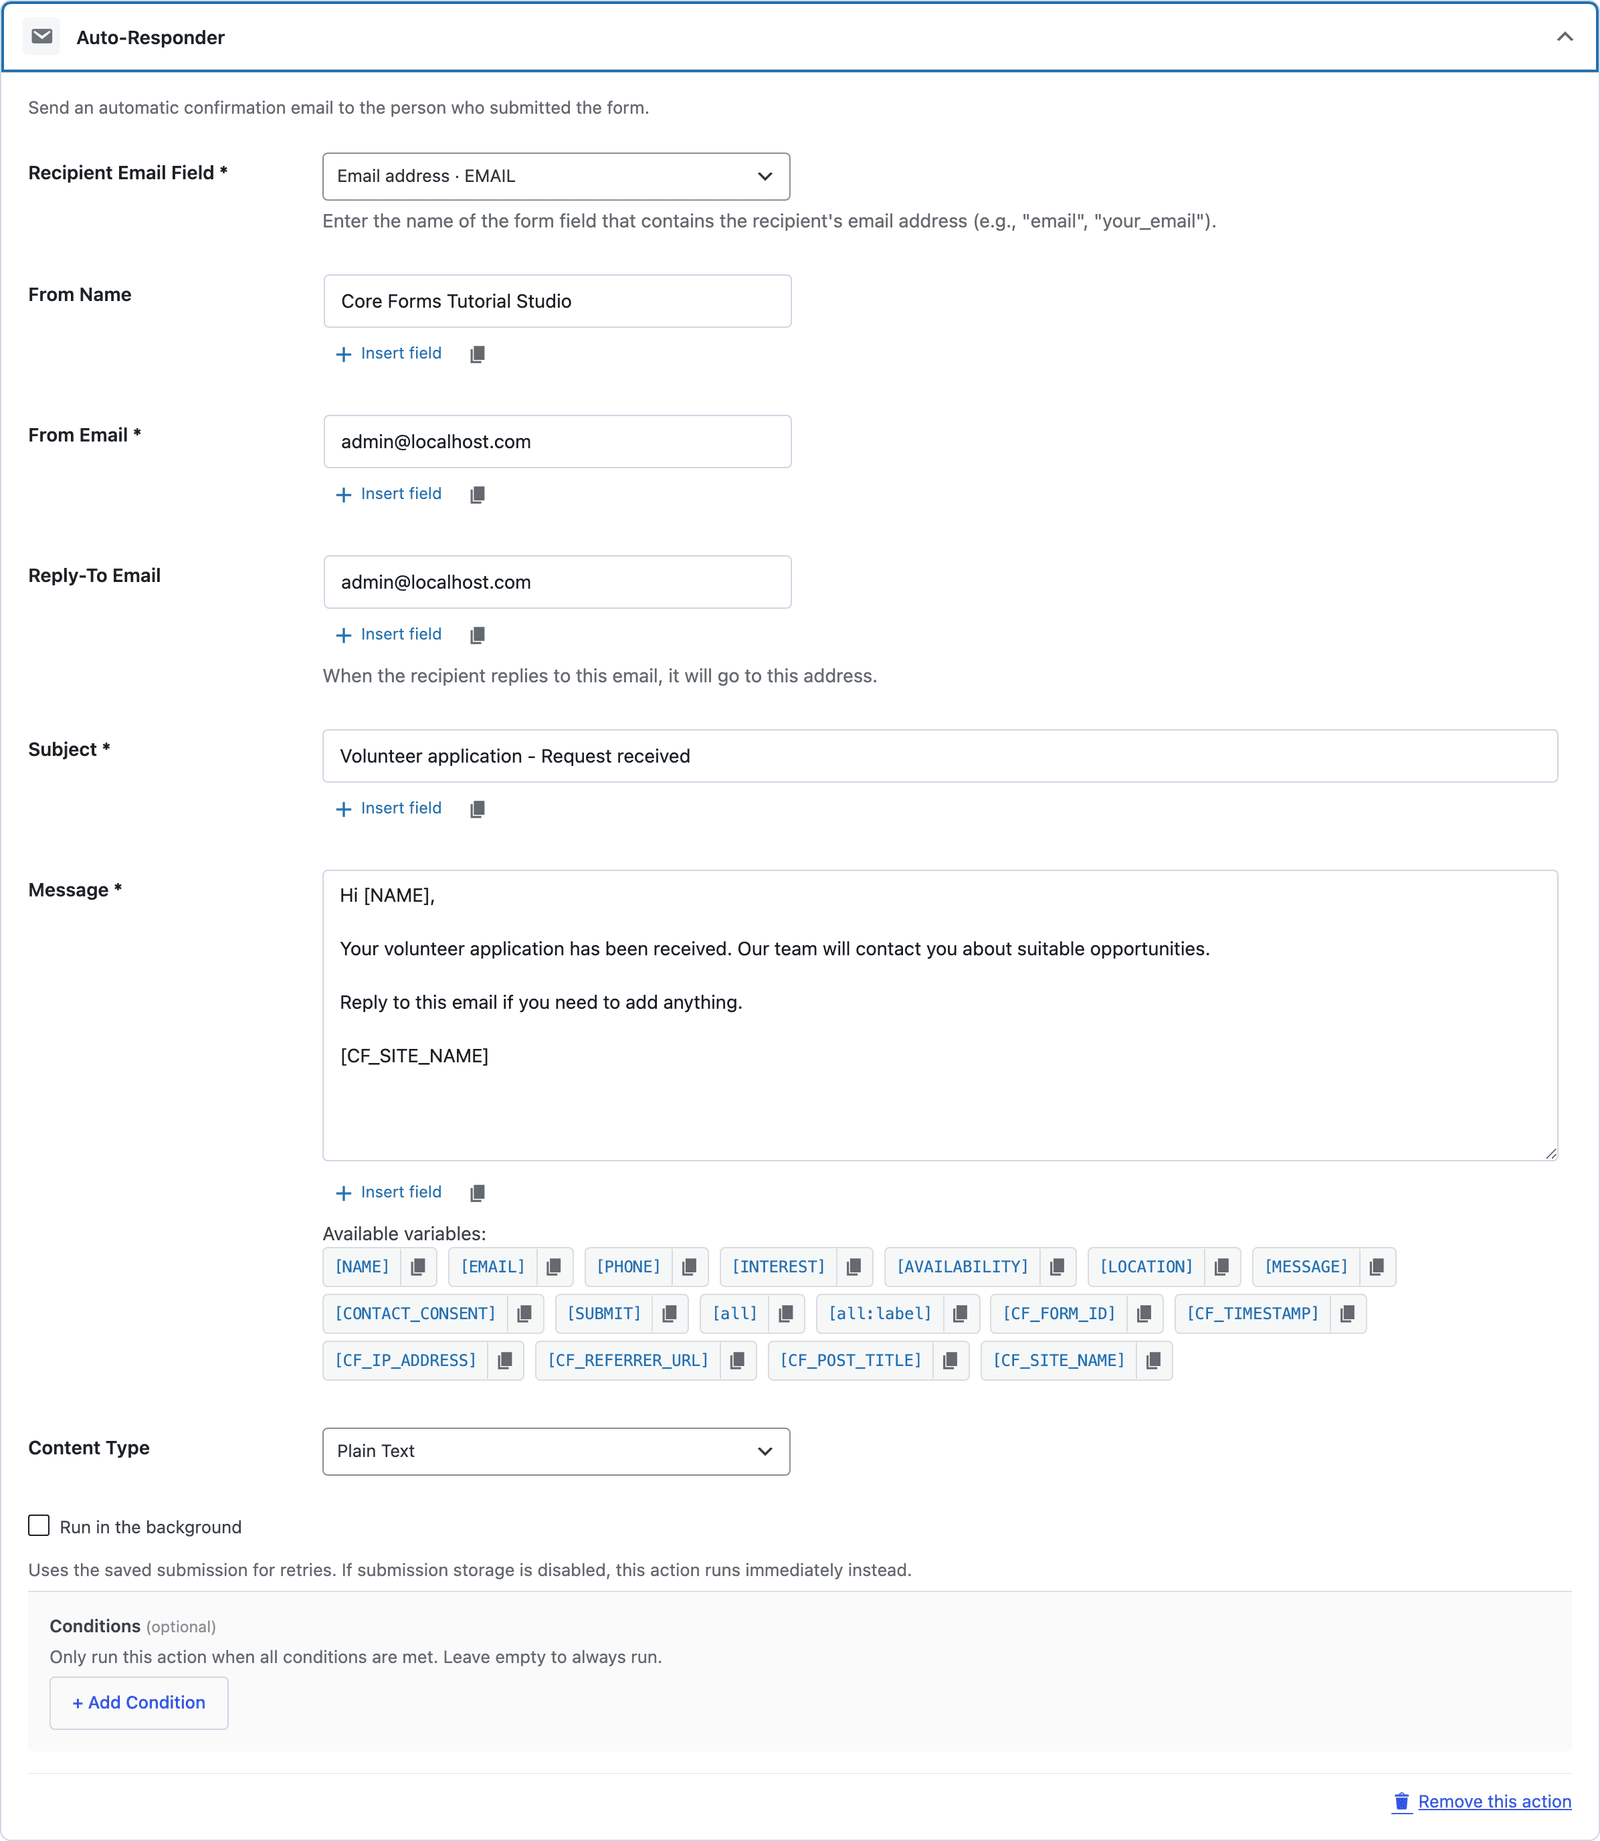 The from name and the subject are the 2 things the visitor reads before deciding whether to open it.
If the email field is empty on a submission, or holds something that is not an email, the auto-reply is skipped quietly and the notification still goes to you.
The 6 Fields, and What Goes in Them
- Recipient email field is the form field holding the visitor’s address, by name.
- From name should be a person or the team, “Priya at Northwind,” not the site’s domain.
- From email defaults to the site’s admin address, and it should be an address on your domain so the email authenticates.
- Reply-To is where a reply to the auto-reply lands. Set it to the inbox that answers, so “actually, one more thing” reaches a person.
- Subject names what happened: “We received your application” beats “Thank you for your submission.”
- Message is below, and it is the part to spend time on.
The content type is HTML by default, and plain text is a switch on the card for a reply that should look like it came from a person’s mail client.
Put the Visitor’s Answers in the Email
The message takes the same variables as the notification, and 3 of them do most of the work:
[NAME], or any field name in brackets, inserts that answer. “Hi [NAME],” is the greeting.[all:label]inserts every answer with its label, which is the copy of the submission the visitor wants to keep.[CF_FORM_TITLE]and[CF_TIMESTAMP]name the form and the time, for a reference line.
A working message for a support form:
Hi [NAME],

Thanks for getting in touch. We have your request and someone from
the support team will reply within one working day.

Here is a copy of what you sent:

[all:label]

If you need to add anything, reply to this email.

The Northwind support team
The reply time is the sentence that stops the follow-up emails, and it has to be one you keep.
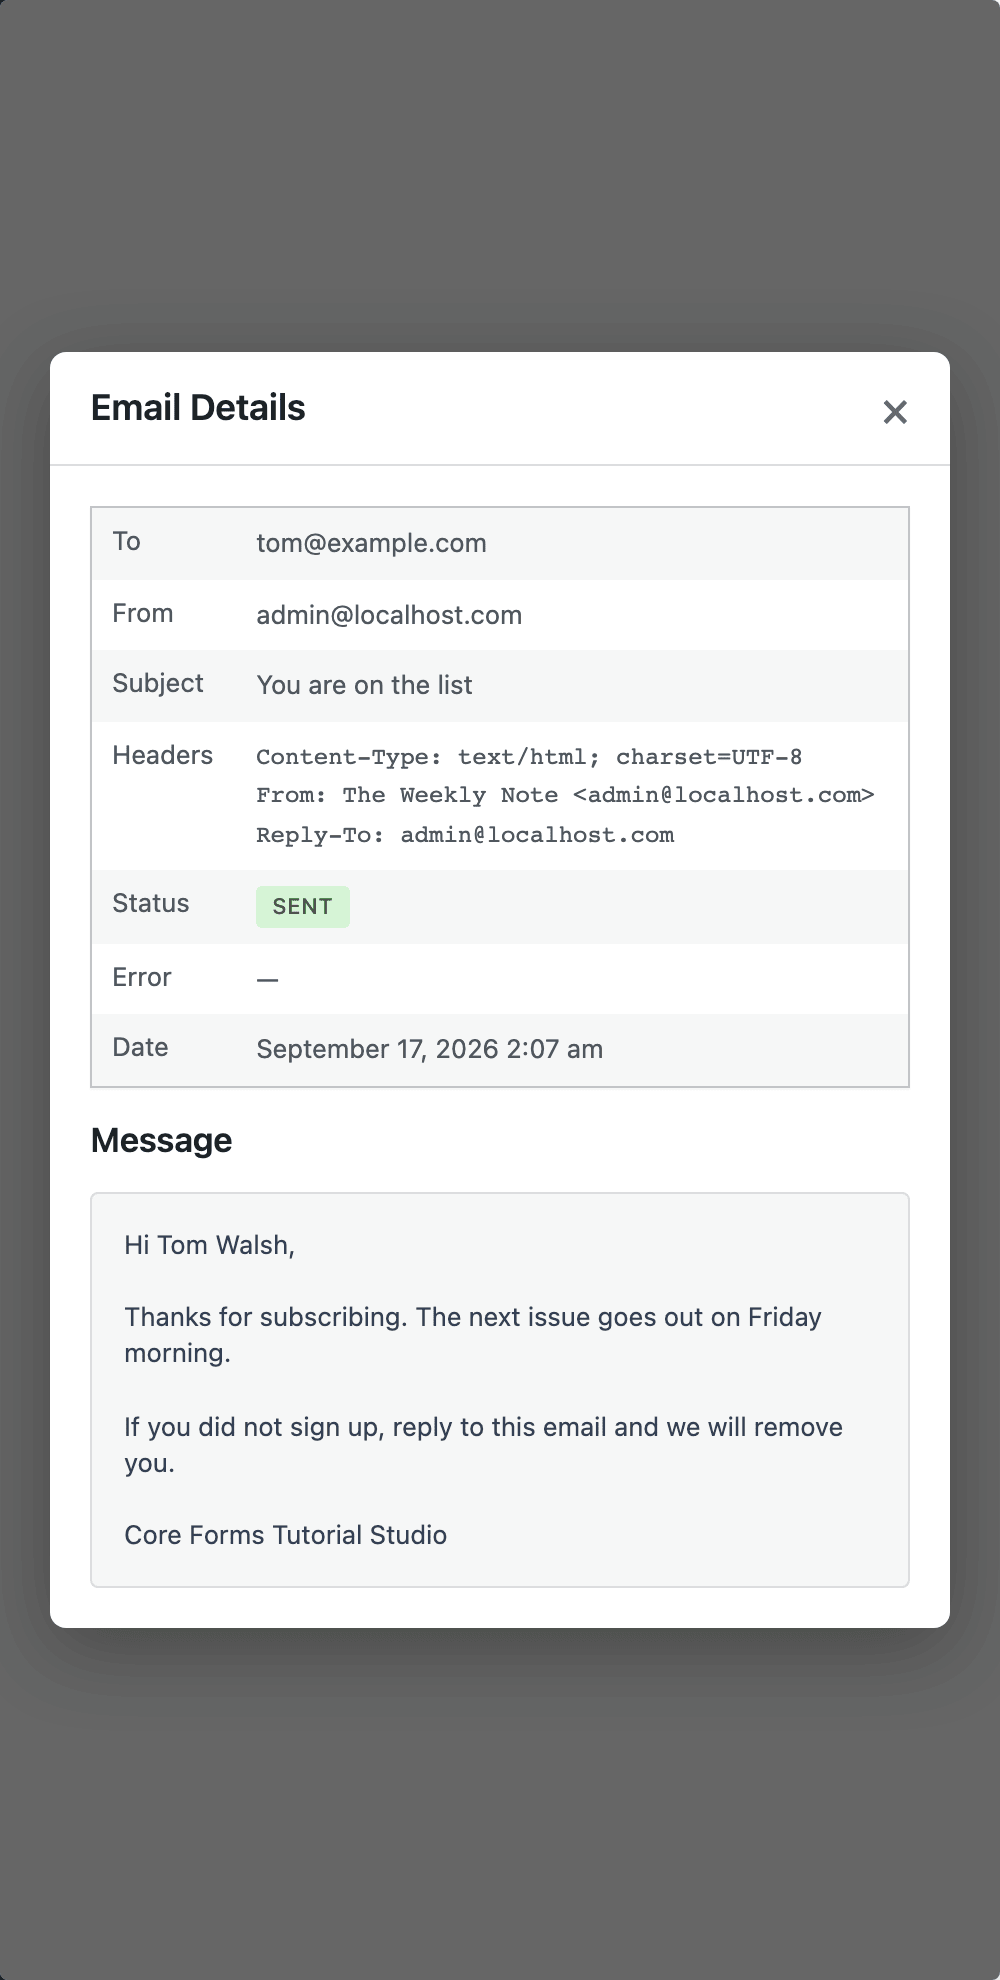 The variables filled in. This is what the visitor received, as the log recorded it.
Keep It Out of Spam
An auto-reply is sent from your site to an address you do not control, and 3 things decide whether it lands:
- Send through an SMTP or API service, not the host’s mail function. Resend, Brevo, Postmark, Amazon SES or an SMTP plugin, and the form emails in spam piece walks through the choice.
- Use a From address on your domain, with SPF and DKIM set up for the service that sends it. A From address at Gmail fails authentication on most receivers.
- Do not send the visitor’s message back to them in the subject. A subject that repeats what a stranger typed is what a spam filter expects from a bounce.
Every auto-reply is logged. The Email logs screen shows each one with its status, and a Resend link sends it again if the first attempt failed.
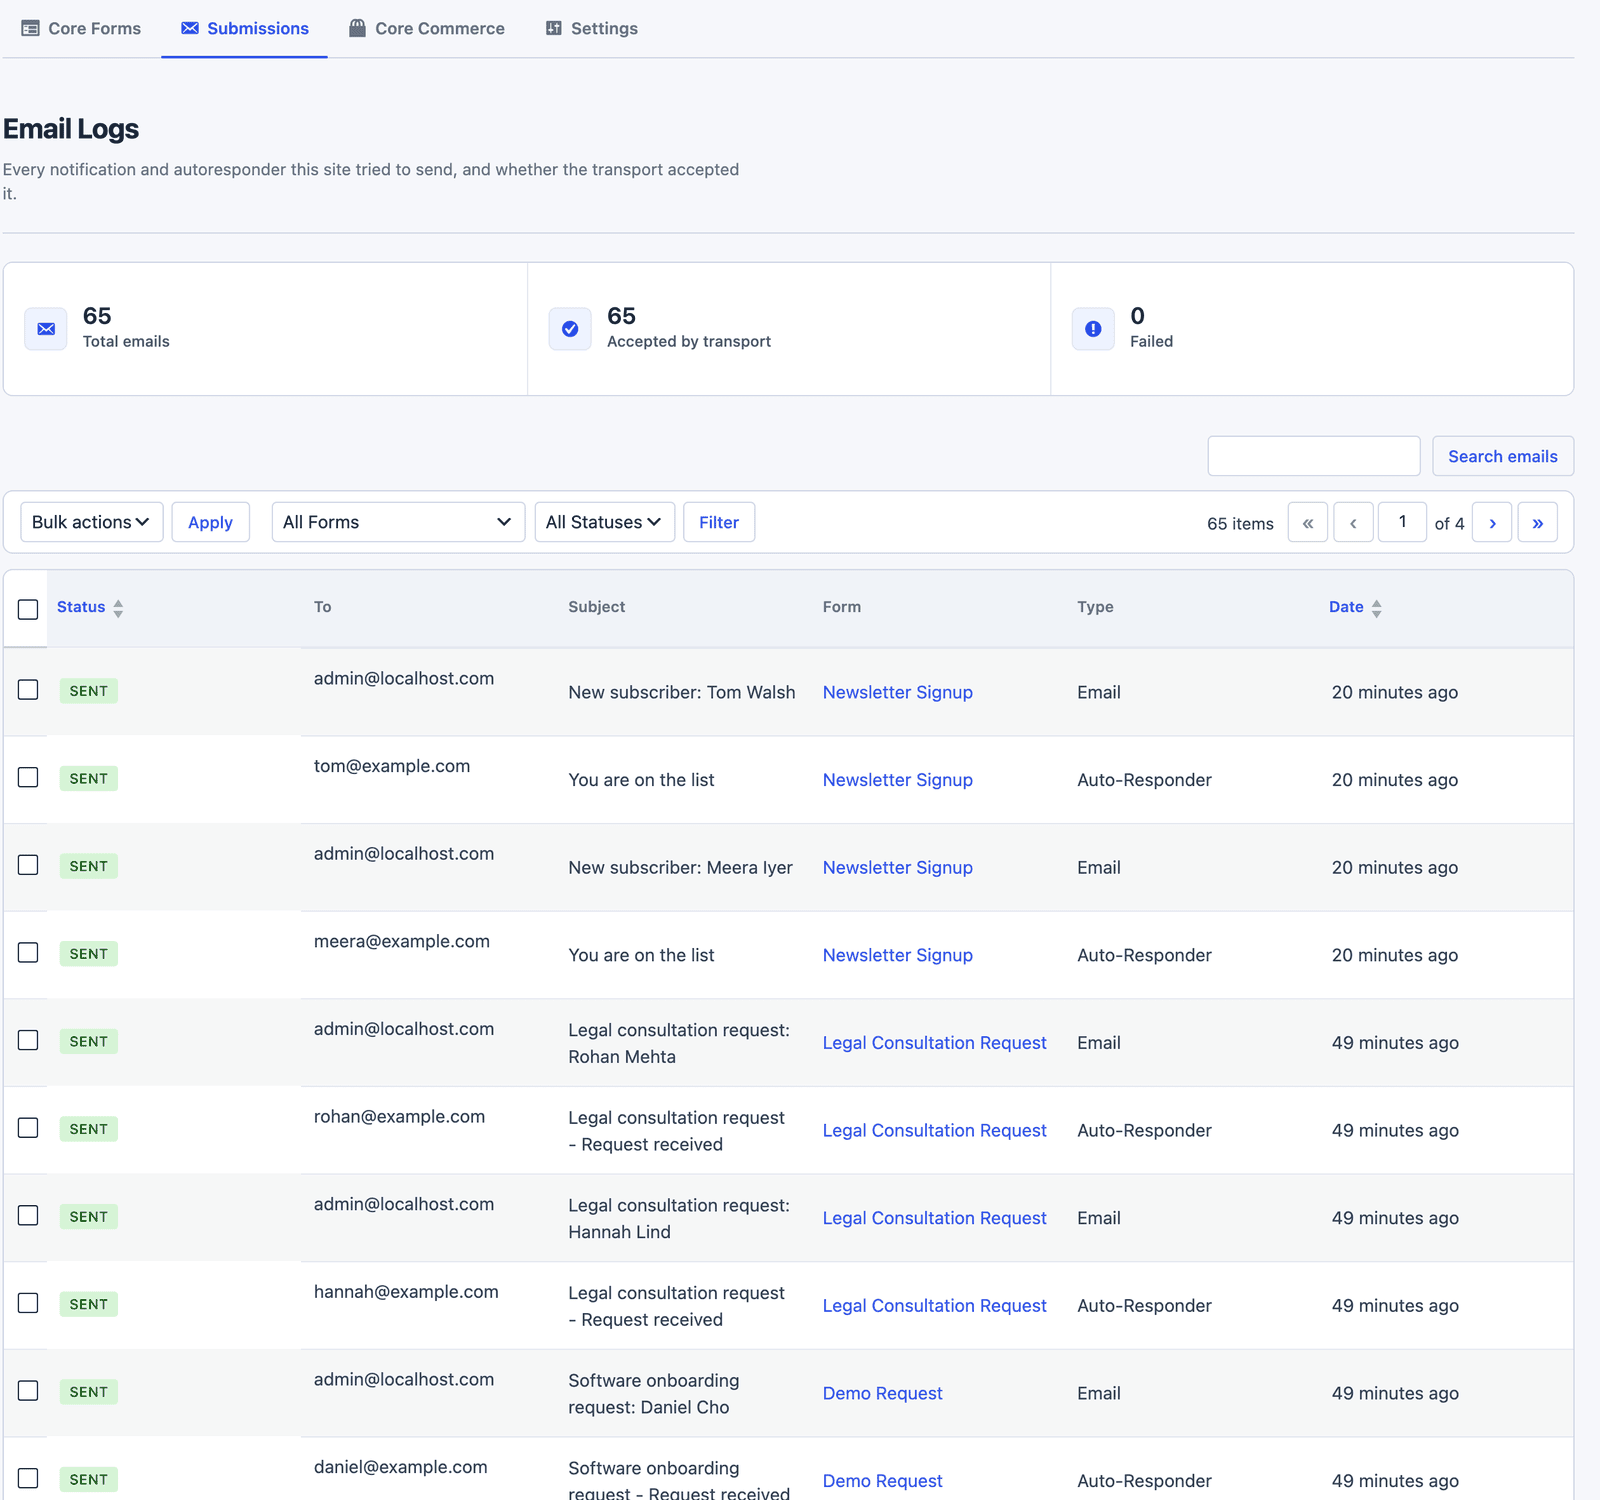 Notifications and auto-replies side by side, each with its status. A failed one shows the error and a Resend link.
Two Auto-Replies on One Form
A form can carry more than one Auto-Responder, each with its own recipient field:
- One to the applicant’s email, with the confirmation.
- One to a manager’s email field on the same form, with a copy, for a form where the visitor names who should be told.
Add a condition to either card, and the reply changes by answer. A support form with an urgency field can send “we reply within one working day” for normal and “someone is looking at this now” for urgent, from 2 cards with one condition each. The conditional logic guide covers action conditions.
On a Payment Form, It Is the Receipt
On a form with payment on, the auto-reply waits for the gateway’s webhook and goes out only after the money is confirmed, which makes it the receipt and the delivery email. Put the download link, the booking link or the shipping promise in it, and it goes only to people who paid. The order form guide shows the flow.
The Limits
The auto-reply is one email, sent once. A sequence of 3 emails over a week is an email marketing tool’s job, and the email marketing actions hand the contact to one.
It cannot attach the visitor’s upload. A form with a file field can include the file’s link with the field’s variable, and the file stays on your server.
It goes to the email field you name. A form with 2 email fields needs the right one chosen, and a form with none has nowhere to send.
Delivery is the sending service’s job. The action hands the email to whatever sends mail for your site, and the log shows whether it was accepted, not whether it reached the inbox.
What Quietly Ruins an Auto-Reply
“Do not reply to this email.” The visitor has one more thing to say, and the email that told them not to say it is the one they forward with a complaint.
No reply time. “We will be in touch” is the sentence that generates “did you get my message?” 2 days later.
A From name that is the domain. “northwind.example” in the inbox is a receipt from a machine, and “Priya at Northwind” is a person who will answer.
Sending it from the host’s mail function. It works on the test site and lands in spam on the real one, and the SMTP plugin that fixes it takes 10 minutes.
Final Remarks
You now have an auto-reply that goes out the moment the visitor submits, sounds like a person, says when they will hear back, carries a copy of what they sent and is sent through a service that lands in the inbox. If you keep one idea from this guide, keep this one: the reply time is the sentence that does the work, so write one you can keep.
The email autoresponder feature page has the variable reference, and the what happens after submission piece covers the notification, the confirmation message and the redirect as one workflow. If something here does not behave the way this guide describes, the support team can help.
I hope the first reply it sends is the last time anyone asks whether you got their message.
The lead response time plan explains where the auto-reply sits in the ladder from acknowledgement to close.
FAQ
Can the auto-reply include the visitor’s answers?
Yes. [all:label] inserts every answer with its label, and any single field goes in as its name in brackets, such as [NAME] or [MESSAGE].
Why is the auto-reply landing in spam?
Almost always because it is sent from the host’s mail function or from a From address that is not on your domain. Send through an SMTP or API service with SPF and DKIM set up for it, and use a From address on the site’s domain.
Can I send a different auto-reply depending on an answer?
Yes. Add 2 Auto-Responder actions with a condition on each, such as an urgency field equals urgent on one and normal on the other, and each submission gets the reply for its answer.