
MailerLite WordPress Integration: Add Form Subscribers to a Group
Connect a WordPress form to MailerLite without the embed code: add the subscriber to a group by API with the name mapped, test it from the form, and run it only when the visitor ticked consent.

A MailerLite WordPress integration for forms comes down to one API call: the form submits, WordPress creates or updates the subscriber in MailerLite and puts them in a group. So, if you are looking to connect a WordPress form to MailerLite without pasting its embed code or paying for an automation tool in the middle, this guide can surely help.
I build Core Forms, which has a MailerLite action built in, and every screen here comes from it running on a test site.
One guide cannot cover MailerLite’s automations, because those start once the subscriber is in the group. It covers the connection: the API key, the group ID that trips most people up, the field mapping, the first test and the consent condition that keeps the list honest.
There is nothing to download. Or, if you get stuck halfway, support is a message away. Without further ado, let’s get started.
What the MailerLite Action Does
The action sends the subscriber to MailerLite’s current API and 4 things about it decide whether you need anything else:
- It creates or updates by email. A returning subscriber is updated rather than duplicated.
- It adds them to one group, or to no group if you leave the ID empty.
- It maps 2 fields, the email and the name, and the name is stored as one MailerLite field rather than split.
- It runs after the form’s emails, so the welcome email goes out even if MailerLite is slow, and a failed request is retried from the saved submission.
There is no MailerLite plugin to install and no embed code on the page, so the form is yours to style and the page stays light.
Get the API Key and the Group ID
- In MailerLite, open Integrations and then Developer API.
- Click Generate new token, name it after the site and copy the key. It is shown once.
- Open Subscribers, then Groups, and click the group the form should feed.
- Copy the group ID. It is a long number, and it is in the group’s URL and its settings.
The key has to come from the current MailerLite, not MailerLite Classic. A Classic key returns “Unauthorized” against the current API, and the fix is a key from the new account.
Add the Action to the Form
- Open the form in Core Forms and click the Actions tab.
- Click Add Action and choose Add to MailerLite from the Email marketing group.
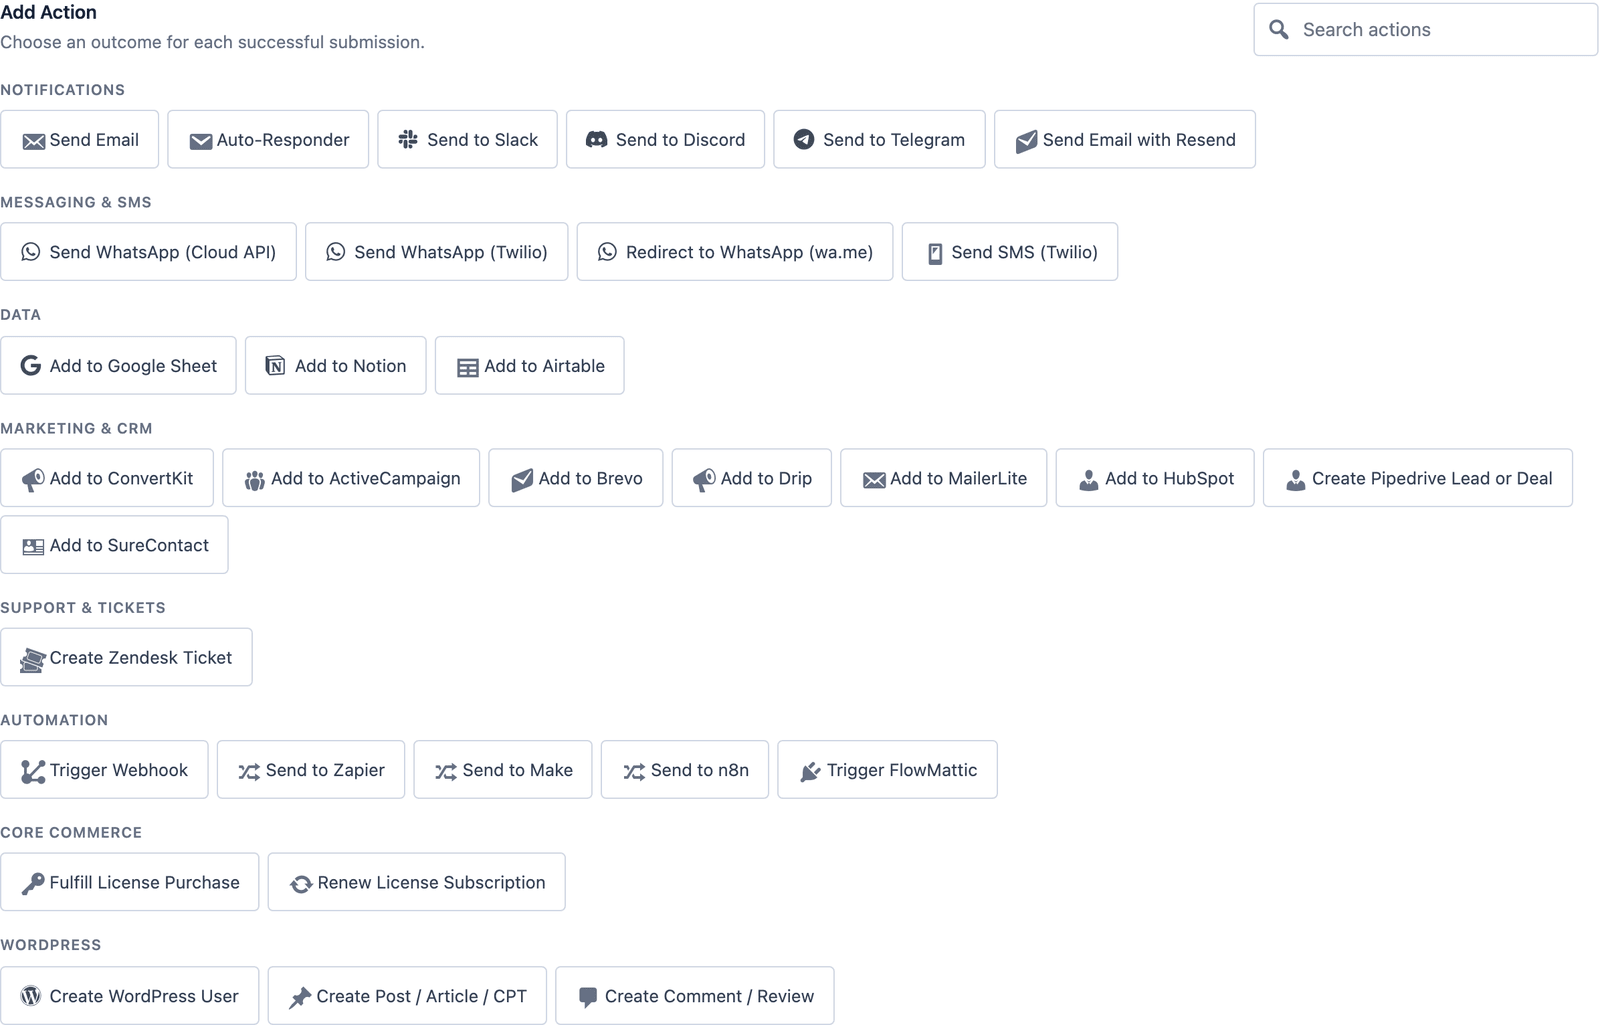 The picker groups actions. MailerLite sits with the other email marketing tools.
- Paste the API key.
- Enter the Group ID.
- Set Email field to the form’s email field name,
EMAILon the templates, and Name field toNAME. - Click Save Changes.
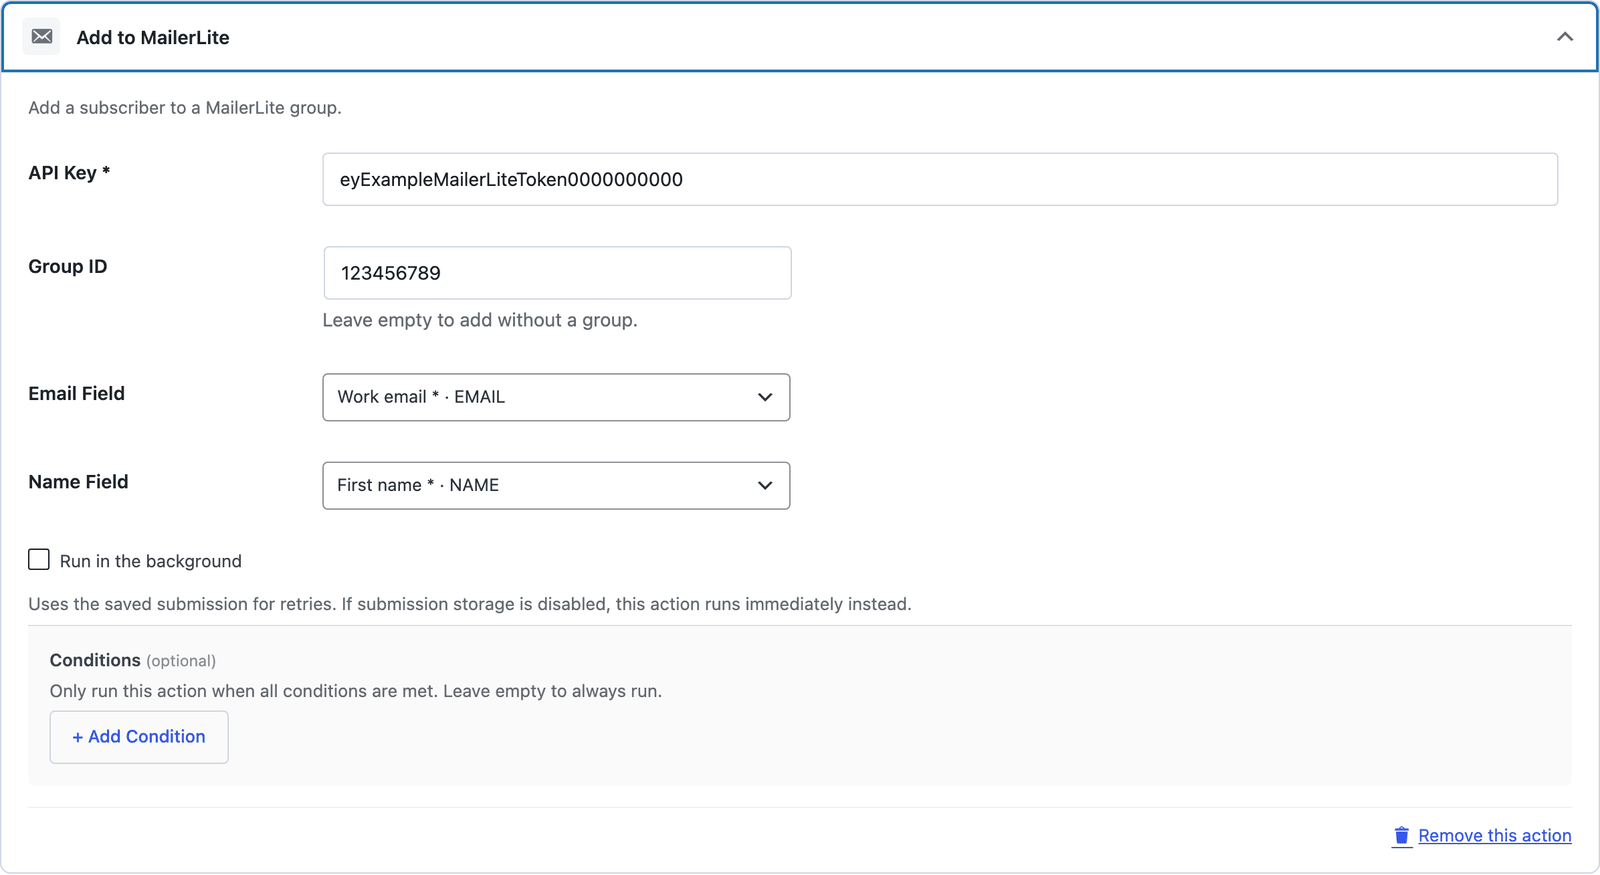 The field names are the uppercase names from the builder, not the labels.
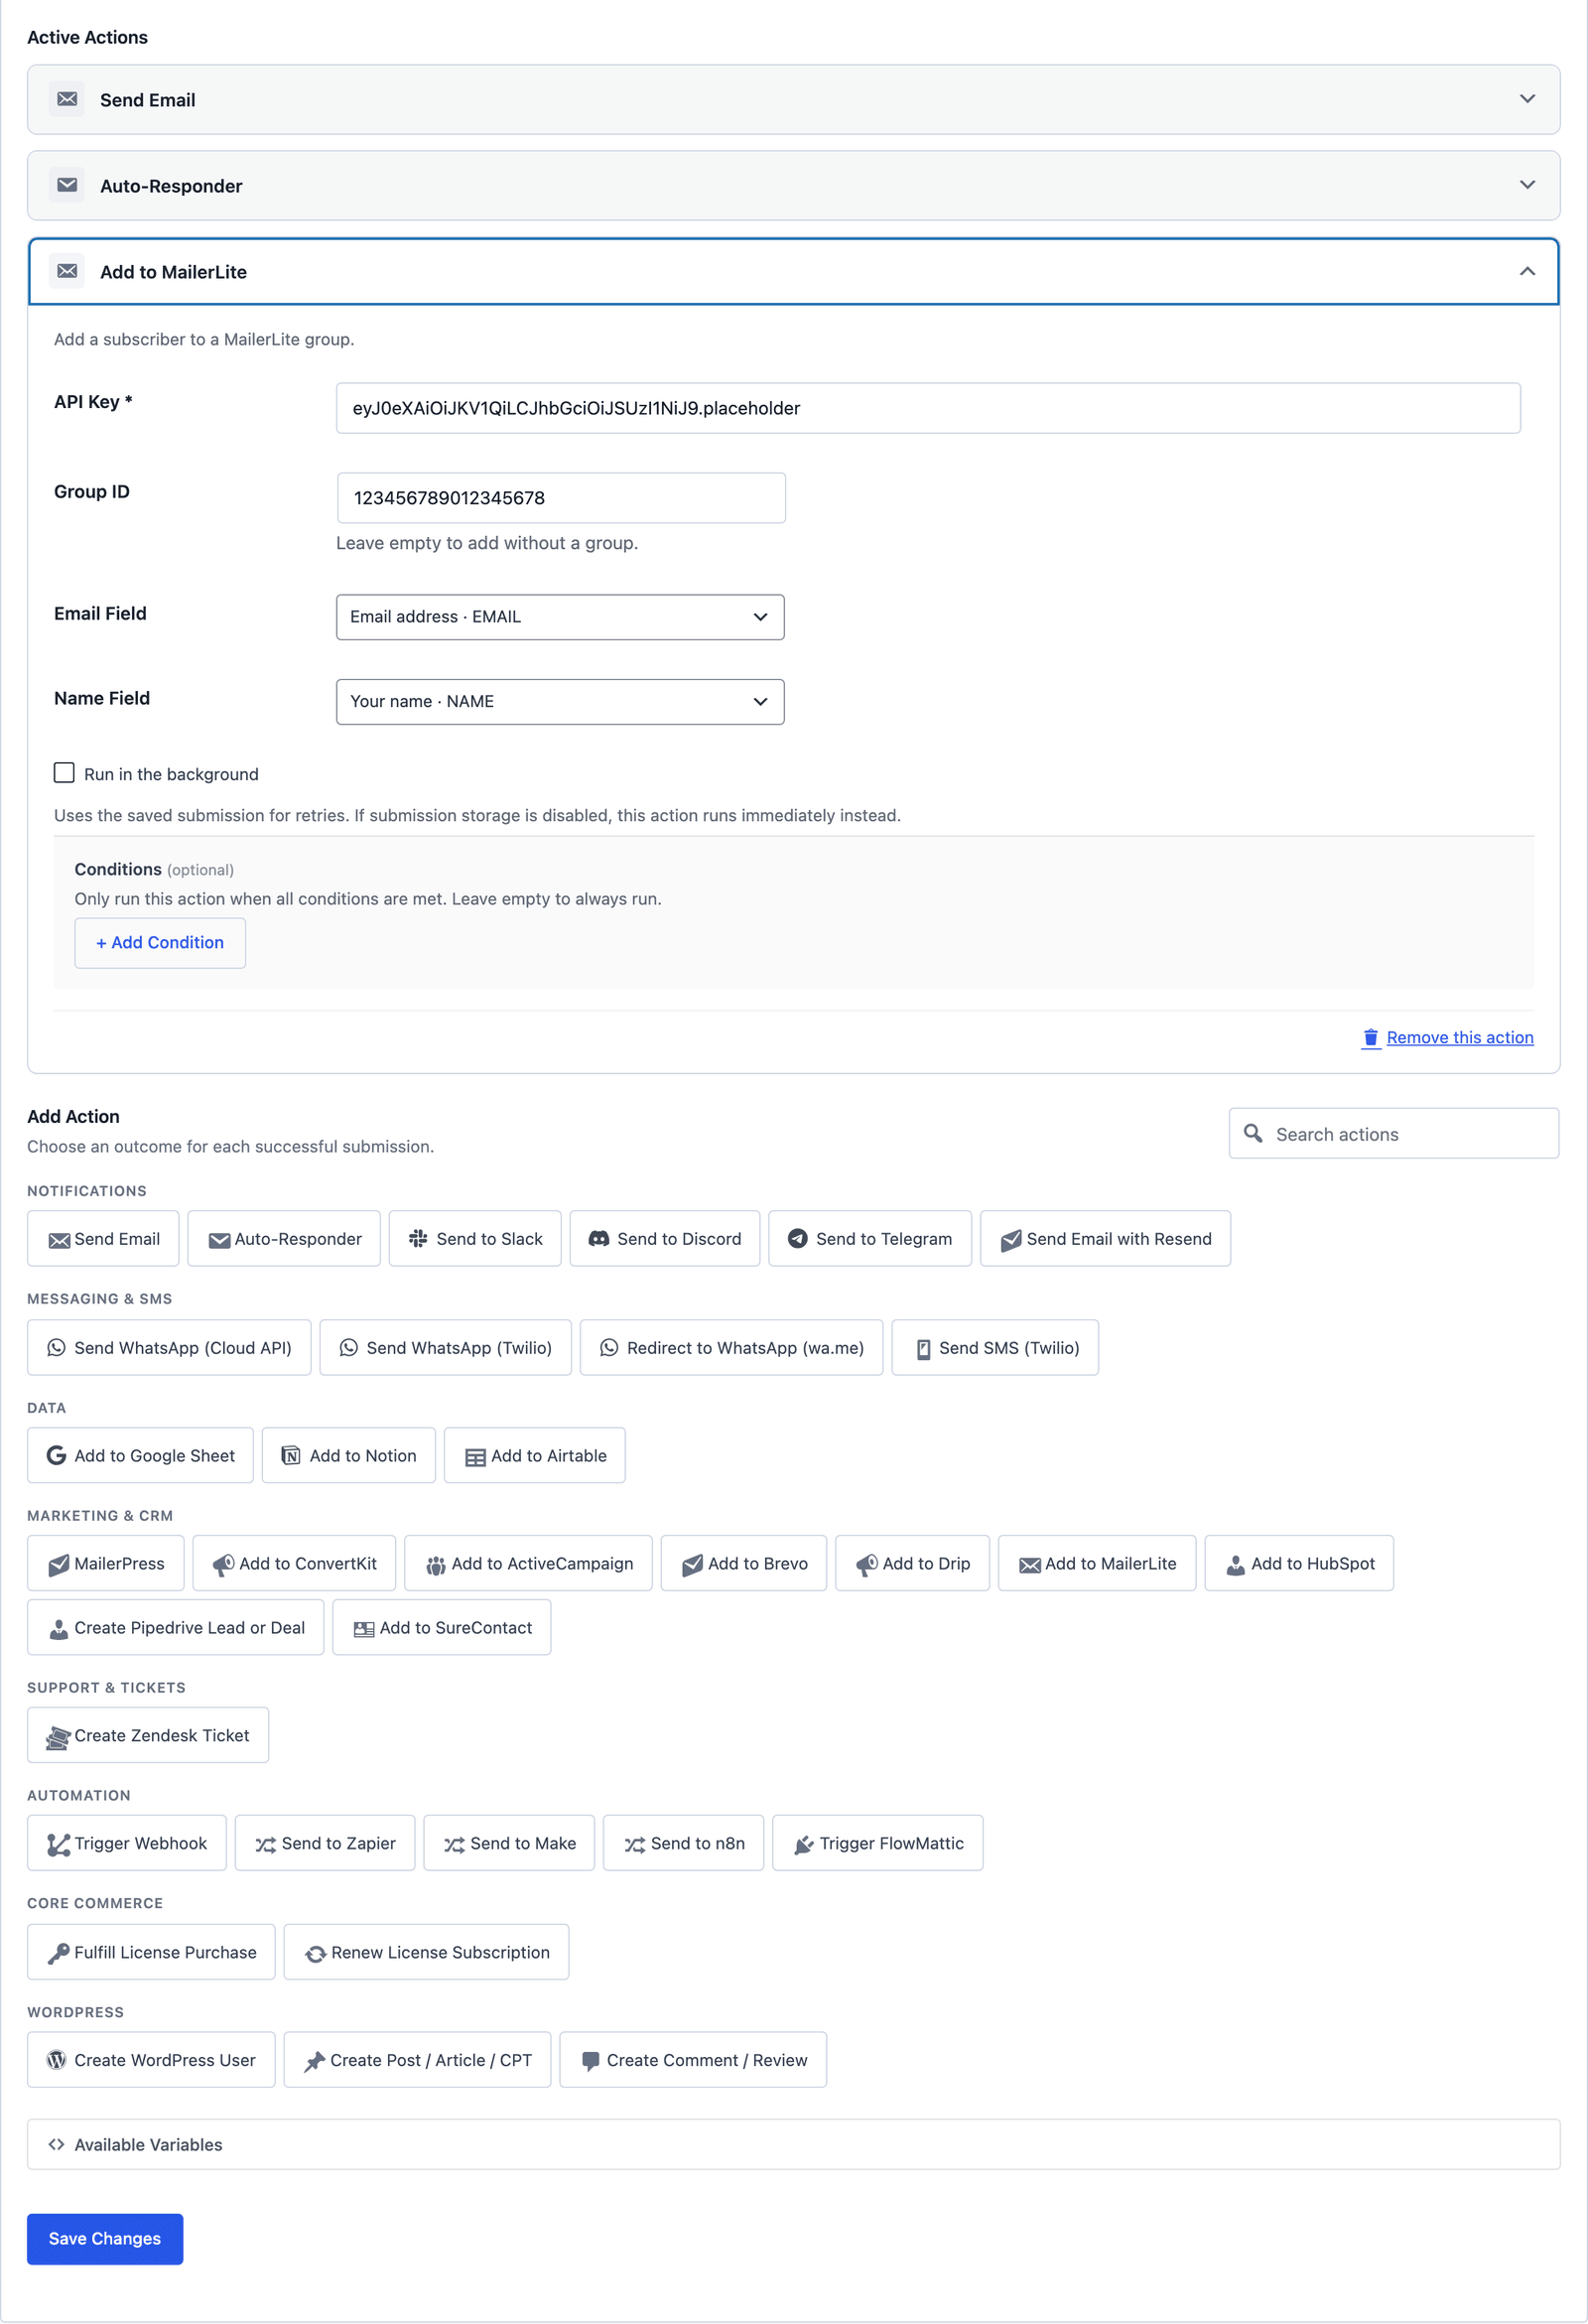 On the signup template the MailerLite action is the third card, after the notification and the welcome email.
Leave the group ID empty and the subscriber is created with no group, which is right for a form that only wants the person on the account and lets a MailerLite automation sort them later.
Test It Before a Visitor Does
The MailerLite action has no test panel, so the test is one real submission with an address you control:
- Put the form on a draft page and submit it with your own email and a name you will recognize.
- Open the group in MailerLite. The subscriber appears within a few seconds, with the name in the name field.
- If nothing arrives, check the key first and the group ID second. “Unauthorized” means a Classic key, and an empty group with a valid key means the ID is wrong.
Then delete the test subscriber in MailerLite, so the first real issue does not go to you twice.
Run It Only on Consent
On the Newsletter signup template the consent checkbox is required, so every submission is a consent. On a contact form with an optional “also send me the newsletter” box, add a condition so the action runs only when it is ticked:
- Scroll to Conditions at the bottom of the MailerLite card.
- Click + Add Condition, enter the checkbox’s field name, choose equals and enter
yes. - Click Save Changes.
The message still arrives in your inbox, and the subscriber is added only when they asked to be. The newsletter signup form guide builds the dedicated form, and the conditional logic guide covers action conditions.
Double Opt-In
MailerLite’s double opt-in is a group and account setting on its side, and the action does not change it. With double opt-in on, the subscriber is added as unconfirmed and MailerLite sends the confirmation email. With it off, they are active immediately.
Keep it on for a public form. The form’s own welcome email can say hello, and the confirmation from MailerLite is what proves the address is real.
Two Groups From One Form
The action adds to one group. For a form with a topic choice that should land subscribers in different groups, add the action twice with a condition on each:
- Add to MailerLite with the product updates group ID, condition
TOPICequalsproduct. - Add to MailerLite with the tutorials group ID, condition
TOPICequalstutorials.
Both cards use the same API key, and a subscriber who picks both, on a checkbox group, is added to both.
The Limits
The action maps the email and the name. Custom fields, a phone number or a company do not travel, and a form that needs them in MailerLite sends them through a webhook to MailerLite’s API or through an automation tool.
The name goes into MailerLite’s name field as one string. A form with first and last name fields maps one of them, and a calculation can join the 2 into a hidden field if the whole name matters.
One group per action. The pattern above handles 2 or 3, and a form that needs 10 is better served by one group and a MailerLite automation that sorts by a field.
The action does not remove subscribers. Unsubscribes happen in MailerLite through its own links.
What Quietly Ruins a MailerLite Integration
A Classic API key on the current API. It looks valid, returns Unauthorized, and the token from the current account fixes it in a minute.
The group name where the ID should be. The action wants the long number, and “Newsletter” in that box adds nobody anywhere.
Adding every contact form submission to the list. Without a consent condition, the person asking about an invoice is now on the newsletter, and the first issue they get is the last one they open.
Skipping the test submission. The action saves fine with a wrong ID, and you find out when the group is still empty a week later.
Final Remarks
You now have a WordPress form adding subscribers to a MailerLite group by API, with the name mapped, tested with your own address before a visitor touched it, and running only when the visitor asked for the newsletter. If you keep one idea from this guide, keep this one: the group ID is the long number in the URL, and one test submission tells you in 10 seconds whether you got it right.
The MailerLite integration page has the action’s reference, and the newsletter plugin comparison covers the case for keeping the list in WordPress instead. If something here does not behave the way this guide describes, the support team can help.
I hope the next subscriber through it opens every issue.
FAQ
Does this need the MailerLite WordPress plugin?
No. The action calls MailerLite’s API directly from your site, and nothing is installed on either side beyond the form plugin.
Can I add the subscriber to more than one group?
Yes, with one Add to MailerLite action per group, each with a condition on the field that decides the group. The same API key works for all of them.
Does it work with MailerLite Classic?
The action uses the current MailerLite API. A Classic account has to migrate to the current MailerLite, or generate a key there, before the action can authenticate.