
How to Create an Employee Information Form in WordPress
Create a simple employee information form in WordPress with work details, clear required fields, restricted access and a tested submissions inbox.

To create an employee information form in WordPress, start with the work details you actually need: name, work email, role and start date. Add department or work location when those fields help someone maintain your staff records.
I’d resist turning a basic staff form into a complete HR dossier. Every extra field creates another piece of personal information to protect, keep accurate and eventually delete. Give the form a specific job before adding questions.
Choose the fields and mark optional details clearly
Use a short employee information form for basic work records. Keep payroll, identity documents and medical information in systems designed for those jobs.
This starting form uses:
| Field | Input | Required? |
|---|---|---|
| Full name | Text | Yes |
| Work email | Yes | |
| Role or job title | Text | Yes |
| Department | Text | No |
| Start date | Date | Yes |
| Work location | Text | No |
Adjust those choices for your process. A business without departments doesn’t need a department question. If you need consistent reporting, use a select list for known departments instead of accepting five spellings of the same team.
Keep an employee information form separate from an employee availability form. Staff details describe the person and role; availability collects when that person can work.
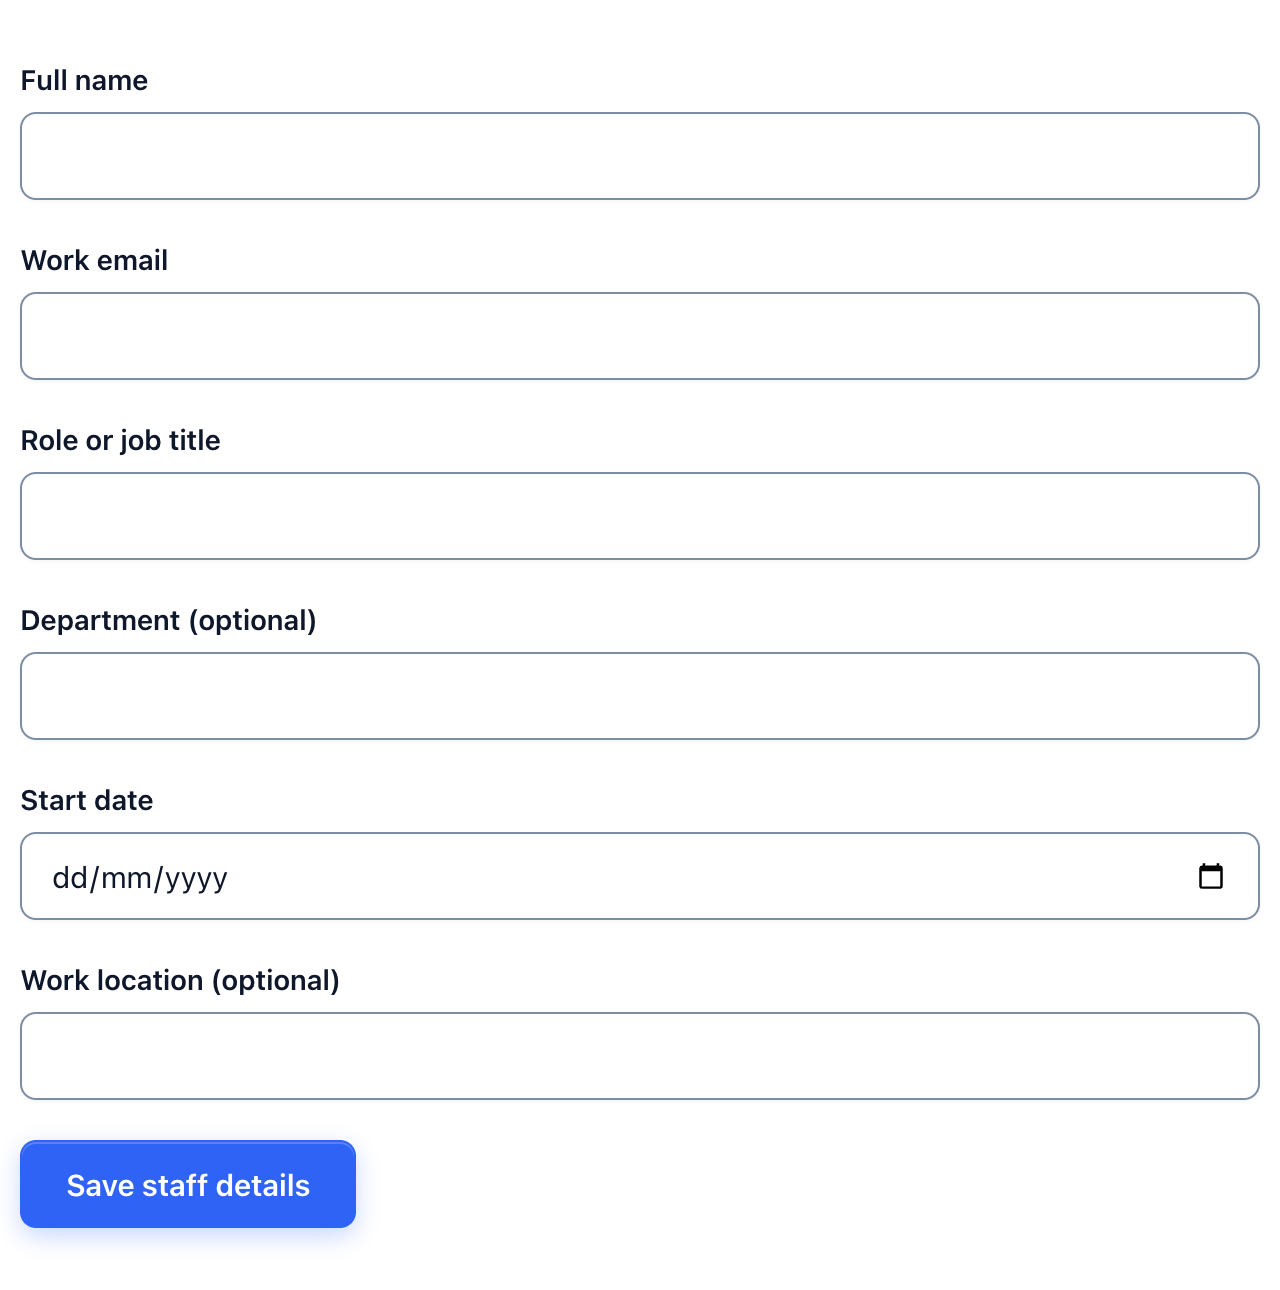 A basic staff-details form. Its page access and record permissions need to be configured separately.
Create the form and add the markup
Create a blank Core Forms form and paste the fields into Code mode. Keep the markup inside the plugin’s form editor rather than adding a second HTML <form> wrapper.
- In WordPress, open Core Forms and add a new form.
- Give it a clear name, such as “Staff work details.”
- Switch the Visual / Code toggle to Code.
- Paste the following markup into the form editor.
- Save the form, then preview its layout.
<p>
  <label for="staff-name">Full name</label>
  <input type="text" id="staff-name" name="FULL_NAME"
         autocomplete="name" required>
</p>
<p>
  <label for="staff-email">Work email</label>
  <input id="staff-email" type="email" name="WORK_EMAIL"
         autocomplete="email" required>
</p>
<p>
  <label for="staff-role">Role or job title</label>
  <input type="text" id="staff-role" name="ROLE_TITLE" required>
</p>
<p>
  <label for="staff-team">Department (optional)</label>
  <input type="text" id="staff-team" name="DEPARTMENT">
</p>
<p>
  <label for="staff-start">Start date</label>
  <input id="staff-start" type="date" name="START_DATE" required>
</p>
<p>
  <label for="staff-location">Work location (optional)</label>
  <input type="text" id="staff-location" name="WORK_LOCATION">
</p>
<p><button type="submit">Save staff details</button></p>
The markup gives you:
- Visible labels connected to their inputs through matching
forandidvalues. - Stable field names for saved records, exports and action variables.
- Email and date input types for the relevant fields.
- Required attributes on the four fields this example needs.
The Code editor guide explains the expected field structure. Keep field names stable after you start collecting responses so later exports don’t split one question across several column names.
Restrict the page and the records separately
Decide who can submit the form and who can manage the records before sharing its URL. These are separate permissions.
For an internal form, configure and test:
- Page access: use your site’s staff-access policy or membership controls to limit the page to the intended audience.
- Form access: enable Core Forms’ logged-in-user requirement when you need authenticated submissions.
- Role restrictions: being logged in doesn’t by itself establish that a person is an employee or belongs to the right team. Enforce that requirement through your site’s access rules.
- Record management: give access only to the people responsible for the information. Employees don’t need form-editing permissions merely to submit their details.
- Notifications: send the minimum necessary information to a restricted destination. Don’t broadcast the full staff record into a general team chat.
Don’t describe a publicly accessible page as “internal” just because it is missing from the navigation menu. Open the URL in a signed-out window and with an ordinary non-staff account to check the actual restriction.
Add a short explanation above the form: who uses these details, why they are needed and how employees can request a correction. Follow your organization’s privacy and retention requirements for the records you collect.
Save a test submission and inspect the export
Enable submission storage, then use fictitious details to check the record before inviting employees. The submissions documentation covers the inbox and CSV export.
Run this small test:
- Submit “Example Employee” with an address such as
employee@example.com, a job title and a start date. - Leave department and work location blank. Confirm that the optional fields don’t stop submission.
- Open the form’s submissions inbox and compare the saved values with what you entered.
- Export a CSV and confirm that its headers map to
FULL_NAME,WORK_EMAIL,ROLE_TITLE,DEPARTMENT,START_DATEandWORK_LOCATION. - Try an invalid email and a missing required field, then check the form’s error behavior.
- Delete the fictitious record and any exported copy.
Don’t use a colleague’s real details as convenient test data. Check how date values appear in the saved record and export before importing them into another system; the browser’s visible date format can vary with locale.
Embed the form on the staff page
Use the Core Forms block or the form’s shortcode on the restricted page. For a form with ID 198, the shortcode is:
[cf_form id="198"]Replace 198 with your form ID. Add the purpose statement above it and a clear success message below the submission step, such as “Your work details have been submitted. Contact HR if you need to correct them.”
After the page is ready, check it with the account types that should and shouldn’t have access. Confirm that the person responsible for staff records can find the response without needing broad administrator privileges.
If you later add demographic questions, make a separate decision about each field. The demographic survey guide covers optional answers and wording that avoids forcing people into an unsuitable category.
FAQ
Is an employee information form the same as an availability form?
- An information form collects work details such as role and start date. An availability form collects working days, times or shift preferences. Use the form that matches the task.
Does requiring login restrict the form to employees?
- Login establishes an authenticated account, not employment status. Apply your site’s staff or role-based page-access rules as well, then test them with a non-staff account.
Should employees have permission to edit forms?
- Form submission and form management are separate jobs. Employees don’t need form-editing permissions to submit their own information.
Can I collect bank details or identity documents here?
I’d keep this basic form limited to work details. Use an appropriately controlled HR or payroll process for sensitive records, with access, storage and retention decisions made before collection.