
HubSpot WordPress Integration: Send Form Leads to HubSpot Without an Add-on
Set up a HubSpot WordPress integration that turns form submissions into HubSpot contacts, with a private app token, property mapping, deduplication by email and a test button.

A HubSpot WordPress integration has one job on a lead form: the moment someone submits, a contact exists in HubSpot with the right properties filled in, and nobody copies it there by hand. So, if you are looking to connect a WordPress form to HubSpot CRM without paying for an add-on or routing every lead through Zapier, this guide can surely help.
I build Core Forms, and the HubSpot action here is the one that ships with it. Every screen comes from a lead form on a test site.
HubSpot has a large CRM, so one guide cannot cover deals, companies or workflows. But almost every WordPress lead form needs the same thing, a contact created or updated with a few properties, and in this one I will try my best to cover that properly, including the token, the mapping and the 2 things that stop a lead from arriving.
There is no download for this one, because the action is already in the plugin. Or, if you get stuck halfway, support is a message away. Without further ado, let’s get started.
What the HubSpot Action Does
The action creates or updates a HubSpot contact from a form submission, and the create-or-update part is the useful bit. HubSpot matches on email, so a person who fills in your form twice becomes one contact with updated properties, not 2 contacts your sales team has to merge.
Out of the box it sends:
- email, from the field you pick as the email field,
- firstname and lastname, split from the name field on the first space, so “Jane Smith” becomes Jane and Smith,
- company, from an optional company field,
- any custom properties you map, one per line.
It needs a valid email to run. If the email field is empty or not an address, the action skips that submission rather than creating a contact with no way to reach it.
Create a HubSpot Private App
The action authenticates with a private app token, which is HubSpot’s replacement for API keys:
- In HubSpot, go to Settings > Integrations > Private Apps and click Create a private app.
- Give it a name such as “Website forms” and open the Scopes tab.
- Tick
crm.objects.contacts.write, which is the only scope the action needs. - Create the app and copy the token. It starts with
pat-.
One scope is the right amount. A token that can only write contacts cannot read your deals or delete anything if it ever leaks from a backup.
Add the Action to the Form
Any form with an email field will do. Here it is the Lead capture template, which asks for a first name, a work email, a company and a role:
- Open the form and go to the Actions tab.
- Under Add Action, find Marketing & CRM and click Add to HubSpot.
- Paste the token into Private App Token.
- Pick the Email Field, the Name Field and, if the form has one, the Company Field.
- Click Save Changes.
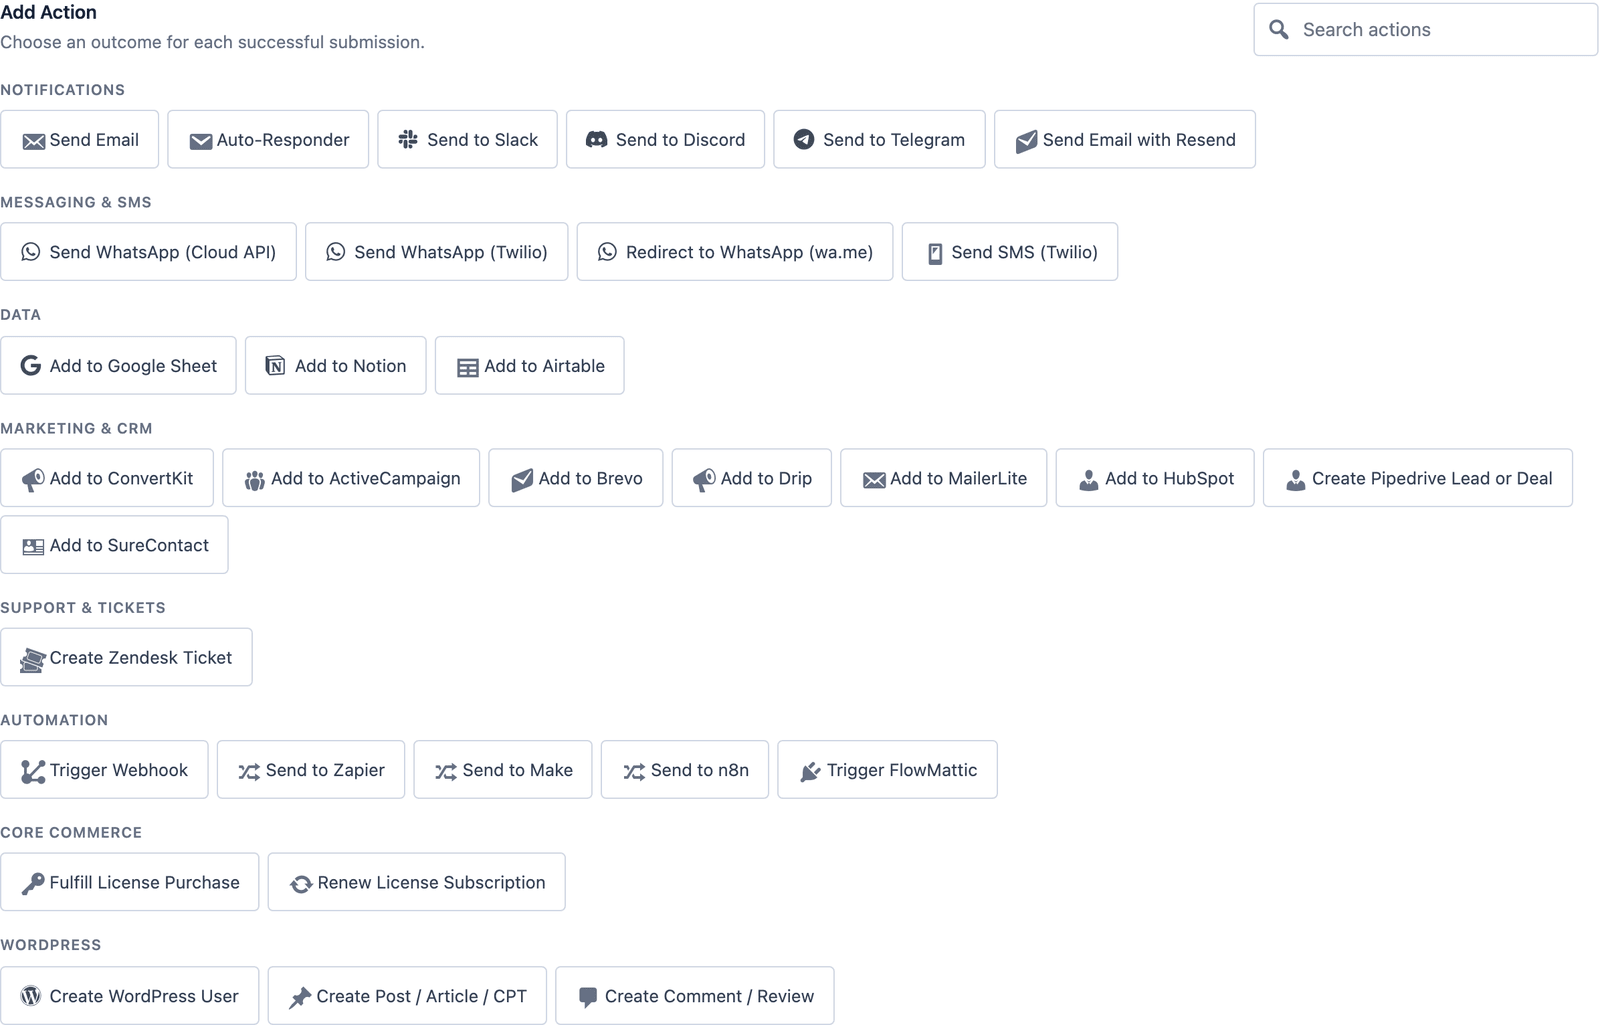 Every action in the picker is part of the plugin. There is no add-on to install first.
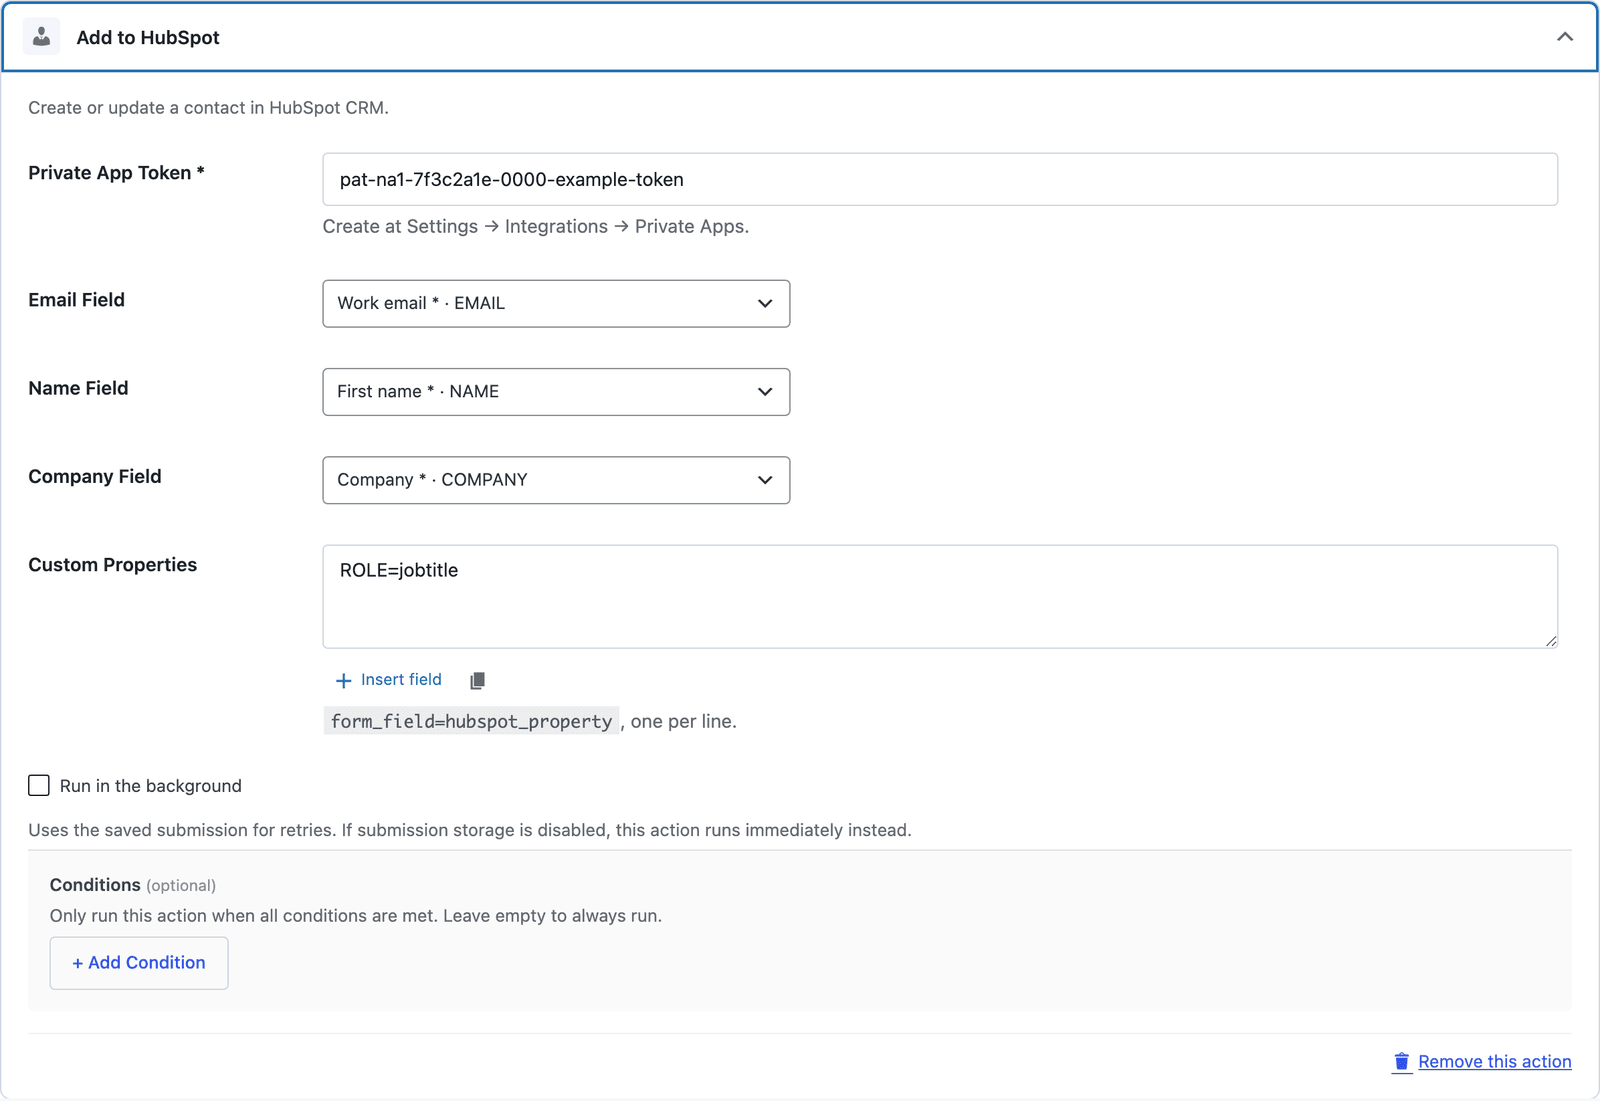 The 3 field dropdowns list the form’s own fields, so there is nothing to type from memory.
Map Custom Properties
The Custom Properties box takes one mapping per line, form field on the left and HubSpot’s internal property name on the right:
ROLE=jobtitle
The right side is the internal name, which is lowercase with no spaces. “Job Title” in the HubSpot interface is jobtitle underneath, “Phone Number” is phone and a property you created yourself has the internal name shown in its settings. A property has to exist in HubSpot before the action can write to it, so create custom ones under Settings > Properties first.
A select field maps well here. The lead form’s role select stores values such as marketing and sales, and if your HubSpot property is a dropdown with those same internal values, the contact arrives with the dropdown already set.
Test It Before a Real Lead
The HubSpot action has no test panel, so the test is one real submission:
- Publish the form on a draft page and submit it with your own email address.
- Open HubSpot and search Contacts for that address. The contact should be there with the name and company mapped.
- If it is not, open the submission in the form’s Submissions tab. A failed action is retried in the background from the saved submission, and the error is recorded on the queue.
Delete the test contact in HubSpot afterwards, or it counts against your marketing contacts.
Put the Form on the Page
Publish the form with its shortcode, [cf_form slug="lead-capture"], or the Core Forms block.
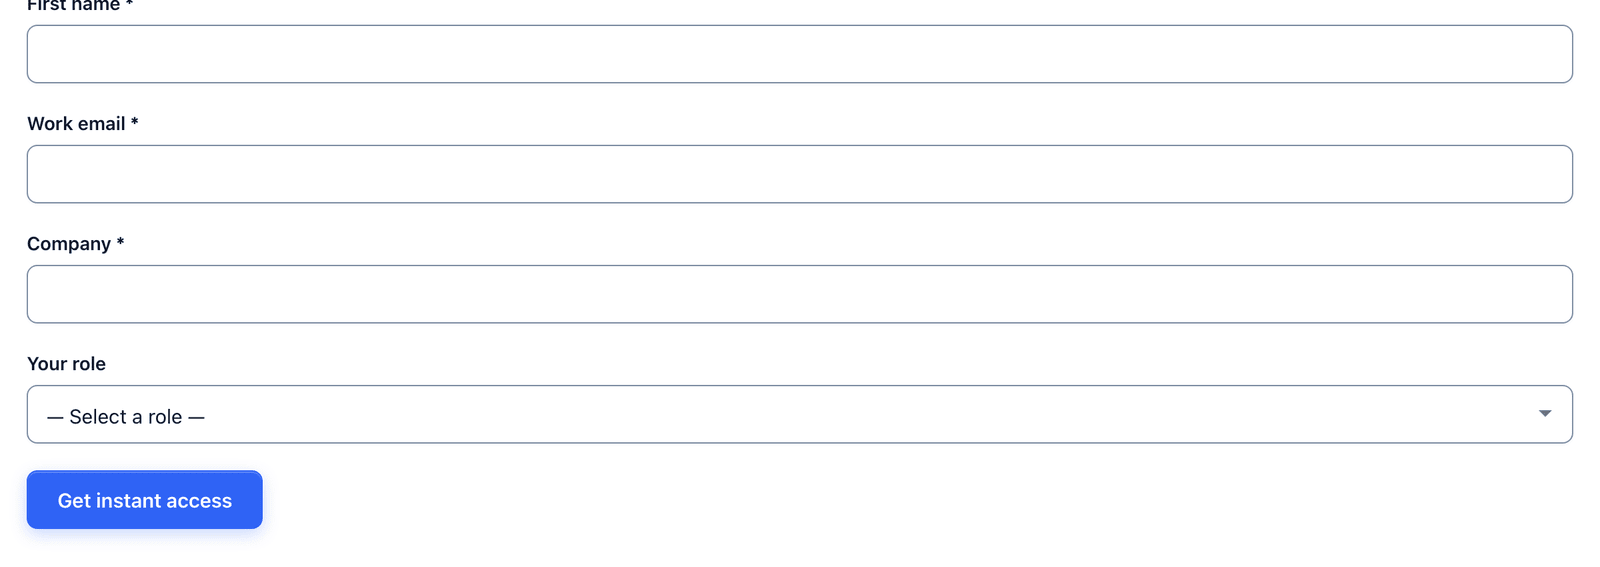 A 4-field form and a contact in HubSpot 15 seconds after submit.
Every submission also lands in the form’s Submissions tab in WordPress, so the lead exists in 2 places. When HubSpot is down, or the token expires, the submission is still there, and a failed run is recorded in the action log with the reason.
Run It in the Background
The action card has a Run in the background checkbox. Ticked, the form finishes for the visitor first and the HubSpot request runs afterwards from the saved submission, with retries if HubSpot times out. Unticked, the request runs during the submit, and a slow HubSpot response makes the visitor wait.
Background is the better setting for a lead form, because the visitor’s confirmation should not depend on HubSpot’s response time. It needs saved submissions on, which the Settings tab shows and which is on by default.
Send Only Some Leads
The Conditions panel on the action runs it only when a field matches. Each condition is a field name, an operator and a value, so a form with a “How can we help?” select can send sales inquiries to HubSpot and leave support questions in the WordPress inbox, with one condition on that field. The conditional logic feature covers the operators.
The Limits
The action writes contacts only. It does not create deals, companies or tickets, and it does not enroll the contact in a workflow. A HubSpot workflow triggered on “contact created” or on a property value does that part, which is the normal HubSpot way to do it anyway.
The name split is on the first space. “Mary Ann Jones” becomes Mary and Ann Jones. If that matters, use separate first name and last name fields and map the second one as a custom property to lastname.
An invalid email skips the action. That is the correct behavior for a CRM, and it means a form with an optional email field will not create a contact for people who leave it blank.
Lifecycle stage and lead source are properties like any other. Map a hidden field to lifecyclestage or hs_lead_status if you want every lead from this form to arrive as, say, a marketing qualified lead.
What Quietly Ruins a HubSpot Integration
Using a token with every scope ticked. It works, and it also means a leaked backup of your database can read your entire CRM.
Mapping to the display name instead of the internal name. “Job Title” in the mapping box fails, jobtitle works, and the test button is the fastest way to find out which one you typed.
Skipping the test with your own email. The first real lead is the wrong time to learn that a property does not exist.
Leaving the action in the foreground on a busy form. A slow HubSpot response becomes a slow form for the visitor, and the background checkbox is one click away.
Final Remarks
You now have a WordPress form that creates or updates a HubSpot contact on every submission, with the properties mapped, a test button that tells you when something is wrong and a copy of every lead in WordPress. If you keep one idea from this guide, keep this one: match by email is what makes this safe to run on every form, so keep the email field required.
The HubSpot integration page has the short version of the setup, and the FluentCRM vs HubSpot vs Mailchimp comparison helps if you are still choosing a CRM. If something here does not behave the way this guide describes, the support team can help.
I hope the next lead through it lands where your sales team can see it.
FAQ
Does the HubSpot integration need the HubSpot WordPress plugin?
No. The action talks to HubSpot’s API directly with the private app token. You can run both, but the HubSpot plugin is not required for form submissions to reach the CRM.
Can I send leads to HubSpot only when a field has a certain value?
Yes. Add a condition on the action, such as a topic select equal to sales. Submissions that do not match still go to the WordPress inbox and the email notification.
What happens if HubSpot is down when someone submits?
With Run in the background on, the submission is saved first and the HubSpot request is retried automatically from the saved submission, with a longer wait between each try. The visitor sees the normal confirmation either way.